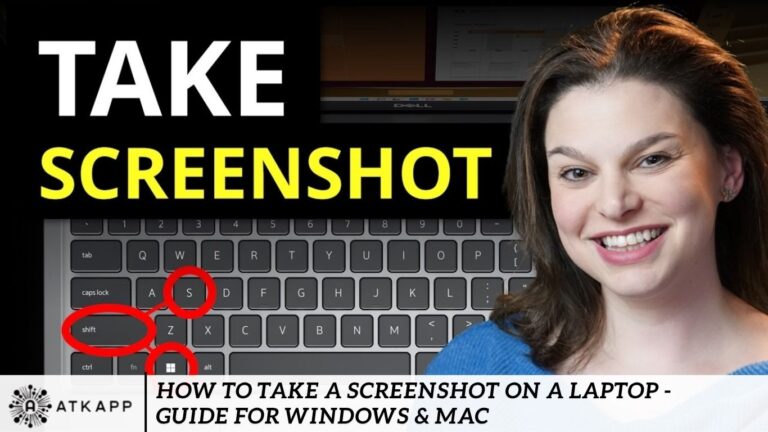
Essential moments in a video call, saving a confirmation page, or documenting an error message for tech support, knowing how to take a screenshot on your laptop is a vital skill. With different operating systems, such as Windows and macOS, offering multiple ways to capture your screen, this guide breaks down the easiest and most effective methods to help you master screenshotting like a pro.
How to Take Screenshots on a Laptop Is Important
Screenshots serve a variety of practical purposes:
- Quickly save visual information without needing to write it down.
- Share what you see with coworkers, friends, or support teams.
- Enhance communication by utilizing visual evidence instead of lengthy explanations.
- Create tutorials or documentation for training and personal use.
How to Take a Screenshot on a Windows Laptop
Using the Print Screen (PrtScn) Key
This is the most traditional and quickest method.
Steps:
- Press the PrtScn key on your keyboard.
- The screenshot is copied to your clipboard.
- Open an app like Paint, Word, or Photoshop.
- Paste (Ctrl + V) the screenshot and save it.
Alt + Print Screen
To capture only the active window:
- Press Alt + PrtScn.
- Paste it into your preferred image editing or word processing software.
- Save the file.
Windows + Print Screen
To automatically save a full-screen screenshot:
- Press Windows + PrtScn.
- The screen will dim briefly.
- Find the screenshot in the Pictures > Screenshots folder.
Using Snipping Tool (Windows 7, 8, 10, 11)
A built-in screenshot tool with cropping options.
Steps:
- Search for the Snipping Tool in the Start Menu.
- Click New.
- Select the screen area.
- Save the snip.
Snip & Sketch (Windows 10 & 11)
Modern replacement for Snipping Tool with added features.
Steps:
- Press Windows + Shift + S.
- Your screen dims, and a toolbar appears.
- Select the type of snip.
- The image is saved to your clipboard.
- Open Snip & Sketch or Photoshop, paste, and save.
How to Take a Screenshot on a Mac Laptop
Capture the Entire Screen
Steps:
- Press Command + Shift + 3.
- The screenshot is automatically saved to your desktop.
Capture a Selected Area
Steps:
- Press Command + Shift + 4.
- Your cursor becomes a crosshair.
- Click and drag to select the desired area.
- The screenshot will appear on your desktop.
Capture a Specific Window
Steps:
- Press Command + Shift + 4, then tap the Spacebar.
- Your cursor changes to a camera icon.
- Click the window you want to capture.
- The image is saved to your desktop.
Use Screenshot App (macOS Mojave and later)
Steps:
- Press Command + Shift + 5.
- A toolbar appears with options for screen capture and recording.
- Choose your method, then click Capture.
- The file is saved to your desktop or selected folder.]
Best Screenshot Tools for Enhanced Productivity
If you take screenshots regularly and need advanced editing or sharing features, consider the following third-party apps:
Lightshot (Windows & Mac)
- Free and lightweight.
- Lets you annotate and upload screenshots instantly.
Greenshot (Windows)
- Open-source tool for Windows.
- Offers multiple capture modes and easy sharing.
Snagit (Windows & Mac)
- Paid professional tool by TechSmith.
- Ideal for tutorials and team collaboration.
ShareX (Windows)
- Advanced but free tool.
- Supports scrolling screenshots, annotations, and workflows.
Tips for Taking Better Screenshots
- Clear the screen before taking a screenshot to remove distractions.
- Use high-resolution displays for sharper images.
- Organize your screenshots into folders to make them easier to find.
- Learn keyboard shortcuts to speed up your workflow.
- Use cloud sync tools like Google Drive or Dropbox for backup and sharing.
Frequently Asked Questions
How do I take a screenshot on a Windows laptop?
Press the PrtScn key to copy the screen to your clipboard. To save it, paste (Ctrl+V) into Paint or Word. Alternatively, use Windows + PrtScn to save it automatically.
Where are screenshots saved on Windows?
Screenshots taken with Windows + PrtScn are saved in the Pictures > Screenshots folder. Snipping Tool and Snip & Sketch let you choose the save location.
How can I capture a specific area of the screen in Windows?
Press Windows + Shift + S to activate Snip & Sketch. Then, select the area you want to capture.
How do I take a screenshot on a MacBook?
Press Command + Shift + 3 to capture the whole screen. Use Command + Shift + 4 to select a portion or Command + Shift + 5 for more options.
Where are screenshots saved on a Mac laptop?
By default, screenshots are saved to your desktop with filenames like “Screen Shot [date] at [time].”
What tool can I use to edit screenshots on Windows?
Use Snip & Sketch, Paint, or third-party tools like Lightshot or Greenshot for editing and annotating screenshots.
Conclusion
Taking a screenshot on your laptop whether you’re using Windows or macOS is a simple yet powerful way to save and share on-screen content. From basic keyboard shortcuts like PrtScn and Command + Shift + 3 to built-in tools like Snipping Tool, Snip & Sketch, and the Screenshot app on Mac, you have multiple options tailored to your needs.
Once you understand the various methods available, capturing everything from full screens to selected windows becomes second nature. Whether you’re a student, professional, or casual user, mastering these techniques ensures you’re always ready to capture important moments, troubleshoot issues, or create content efficiently.

